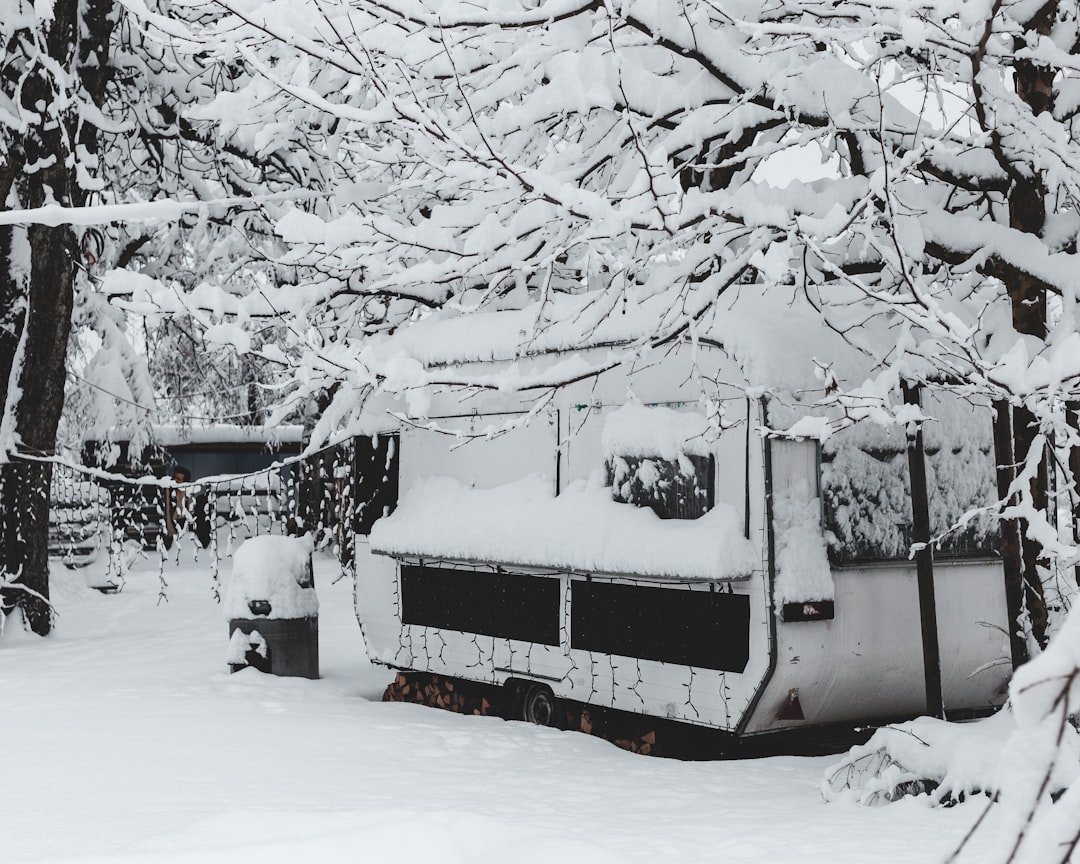
Alright, listen up. You’ve sunk good money into your camper, and you plan on getting the most out of it, right? That means using it hard, and that also means protecting it when the mercury drops. As your seasoned guide, I’m here to walk you through winterizing your rig, step-by-step. No hand-holding here, just solid, practical advice from someone who’s been there, done that, and frozen their knuckles off more times than I care to admit. We’re not just talking about slapping some antifreeze in; we’re talking about a full-blown defensive operation against Old Man Winter.

Why Winterizing Your Camper is Crucial for Longevity
This ain’t just about making your camper look good for next season. This is about keeping it running, keeping it solid, and keeping your wallet from getting hammered by avoidable repairs. Think of winterizing as the ultimate preventative maintenance – an ounce of prevention truly is worth a pound of cure when it comes to your RV.
Protecting Your Investment from Freezing Temperatures
Water expands when it freezes. It’s basic physics, and it’s the sworn enemy of every pipe, fitting, and appliance in your camper. A single freeze-thaw cycle can crack engine blocks, and it can do the same to your water lines, your pump, your water heater, and even your toilet. We’re talking about split hoses, burst pipes, and a world of headache. Properly winterized, your camper laughs in the face of frost.
Preventing Costly Repairs and Mold Growth
Letting water sit in your pipes over winter is asking for trouble. Beyond the immediate threat of freezing, stagnant water is a breeding ground for mold and mildew. That nasty smell? That’s your camper slowly rotting from the inside out. And the repairs? A burst pipe isn’t a cheap fix, and neither is remediating mold. Winterizing is an investment that pays dividends by preventing these expensive nightmares.
When Should You Winterize Your Camper?
Timing is everything. Get this wrong, and you might as well skip the whole process. We need to be proactive, not reactive.
Understanding Your Local Climate and First Freeze Dates
You need to know when that first hard frost is expected in your neck of the woods. Don’t guess. Check local weather forecasts, agricultural advisories, or even ask around. Once you have that date, aim to winterize your camper at least a week or two *before* the first predicted freeze. This gives you a buffer for unexpected weather changes or if you run into a snag during the process. Better safe than sorry.
Seasonal Usage Patterns and Storage Plans
Are you a fair-weather camper who packs it up after Labor Day? Or are you a die-hard who plans on hitting the slopes in your RV? Your usage dictates your timeline. If you’re done for the season, get it done ASAP. If you plan on using it sporadically through the colder months but don’t want to deal with frozen pipes every time you leave, you’ll need a different strategy – often involving keeping the RV plugged in and using a small space heater, but that’s a different beast. For storage, full winterization is non-negotiable.

Essential Tools and Materials for Camper Winterization
Get your gear sorted *before* you start. Running back to the store mid-job is a rookie mistake.
🧰 Tools & Gear You’ll Need
- RV Antifreeze (Non-toxic, propylene glycol based) – Amount depends on system size, usually 2-3 gallons.
- Water Heater Bypass Kit (if your RV doesn’t have one built-in)
- Pliers (for hose clamps)
- Screwdriver set
- Shop Towels or Rags
- Bucket
- Water Pump Converter Kit (optional, makes adding antifreeze easier)
- Air Compressor (if using the air method)
- Hose adapter for air compressor (if using air method)
- Safety Glasses
- Gloves
- Cleaning Supplies (mildew cleaner, all-purpose cleaner)
The Antifreeze Method: What You’ll Need
This is the gold standard for most folks. You’ll need a good supply of non-toxic RV antifreeze – the pink stuff. Don’t even think about using automotive antifreeze; it’s poisonous and will wreck your plumbing. You’ll also need a way to bypass your water heater, either a dedicated kit or a way to manually close off the input and output lines. This prevents you from filling your entire water heater with antifreeze, saving you both product and flush-time later.
The Air Compressor Method: Alternative Supplies
If you’re leaning towards the air method, you’ll need a reliable air compressor capable of delivering consistent pressure (around 30-40 PSI) and the right fittings to connect it to your RV’s water system. You’ll also need a way to drain the lines thoroughly *before* introducing air. This method is faster but requires more specialized equipment and a bit more finesse to ensure you get all the water out.
Safety Gear and Cleaning Supplies
Don’t be a hero. Safety glasses are a must to protect your eyes from splashes. Gloves keep your hands clean and provide a better grip. And before you even think about touching the plumbing, give your camper a good once-over. Clean out any food, clean the fridge, wipe down surfaces, and generally tidy up. A clean camper is a happy camper, and it makes the winterizing process much more pleasant.
Step-by-Step: How to Winterize a Camper’s Plumbing System (Antifreeze Method)
This is the core of it. Follow these steps like your camper’s life depends on it – because it does.
Gather Your Supplies and Prepare Your Camper
Make sure you have everything listed above. Park your camper on a level surface. Turn off the water pump and unplug any external water sources. Open all cabinet doors and drawers to allow air circulation and access to lines.
Empty and Flush All Tanks (Fresh, Grey, Black)
This is critical. Connect to a sewer if possible, or use a portable sewer hose and tank. Drain your fresh water tank completely. Then, open the valves for your grey and black water tanks and let them drain thoroughly. Flush them out if you have the hookups and a dump station nearby. Leaving residual waste is asking for freeze damage and odor issues.
Bypass Your Water Heater
Locate your water heater. If you have a bypass kit, follow its instructions to reroute water *around* the heater. This typically involves closing the cold water inlet valve to the heater and opening a bypass valve. If you don’t have a bypass, you’ll need to disconnect the cold water line going into the heater and the hot water line coming out, and connect them together with a short hose or fittings. This prevents you from filling the entire water heater with antifreeze, which would require gallons to flush out later.
💡 Pro Tip: Not bypassing the water heater is a rookie mistake that costs time and money. If you don’t have a bypass kit, buy one. They’re cheap insurance against a massive antifreeze bill and hours of flushing. Some bypasses are simple valve turnings, others require disconnecting lines. Know your system!
Introduce RV Antifreeze into the System
There are two main ways to do this: either connect a short hose from your antifreeze jug directly to the water pump’s intake line (you might need to remove the pump’s filter for this), or if you have a dedicated winterizing port, use that. Turn on your water pump. Slowly open the valve that draws antifreeze into the system. You’ll hear the pump start to suck air, then antifreeze. Once antifreeze is flowing, you’re ready for the next step.
Flush Each Fixture (Faucets, Shower, Toilet)
Start with the faucet furthest from the pump (usually a bathroom sink). Open the hot and cold handles until you see pink antifreeze flowing. Let it run for a minute to ensure all water is purged. Close the faucet. Move to the next closest fixture and repeat – kitchen sink, shower, then toilet. For the toilet, flush it, then pour about a pint of antifreeze into the bowl, and hold the pedal down to let it fill the trap and lines. Do this for *every* faucet and showerhead.
💡 Pro Tip: Don’t just let a trickle of pink come out. Let it run until it’s a solid stream of pink. This ensures you’ve pushed all the water out. Also, make sure you run both hot and cold lines. Sometimes the hot water lines are slightly lower or have more traps, making them more prone to freezing.
Protect Other Water Lines (Ice Maker, Exterior Shower)
If your RV has an ice maker, you’ll need to run antifreeze through its line too. This often involves turning on the ice maker briefly (if possible without water) or having a way to manually purge the line. Don’t forget any exterior shower or washdown stations – these are often overlooked and are prime candidates for freezing. Run antifreeze through them until it flows pink.
Pour RV Antifreeze into Sink and Toilet Drains (P-Traps)
This is for the fixtures you don’t use often, or those with drains that don’t have a direct water line. Pour a cup or two of antifreeze into each sink drain, shower drain, and the toilet bowl itself (after flushing). This ensures the P-traps are filled with antifreeze, preventing any residual water from freezing and cracking the trap. Don’t skip this!

Alternative Method: How to Winterize a Camper Using Compressed Air
This is the speed demon’s choice, but it requires precision. You *must* get all the water out, or you’re worse off than when you started.
Drain Water Lines
Just like the antifreeze method, start by draining all your fresh, grey, and black water tanks. Open all your faucets (hot and cold) to let gravity do its work. Get as much water out as possible manually.
Connect Air Compressor and Set Pressure
You need an adapter that fits your RV’s water inlet. Connect your air compressor and set the pressure to a low level, typically between 30-40 PSI. *Never* exceed 50 PSI. Too much pressure can blow out seals or even crack pipes.
💡 Pro Tip: Start low and work your way up. Check your RV’s manual for recommended air pressure. Using a regulator on your compressor is essential to maintain a steady, safe pressure. Never connect the compressor directly without a regulator.
Blow Out Each Line Systematically
Open one faucet at a time (starting with the furthest from the inlet). Turn on the air compressor. Let it run until you hear sputtering and see only air coming out, not water. Then close the faucet. Move to the next one, repeating the process for hot and cold lines, shower, toilet, ice maker line, and exterior shower. It’s tedious but vital.
Pros and Cons of the Compressed Air Method
Pros: Faster than antifreeze, no chemicals to flush out in spring, good for ensuring lines are completely dry. Cons: Requires specialized equipment (compressor, regulator, adapter), risk of over-pressurizing and damaging the system if not done carefully, doesn’t protect drains/traps from freezing (you still need to pour antifreeze in them).
Beyond the Plumbing: Comprehensive Camper Winterization Checklist
Your plumbing is the main concern, but don’t stop there. A full winterization is a holistic approach.
Clean and Dry the Interior Thoroughly
Remove all food, drinks, and anything susceptible to spoilage or freezing. Clean all surfaces, including the fridge, stove, and countertops. Ensure the interior is completely dry to prevent mold and mildew. Use fans and dehumidifiers if necessary.
Prepare Appliances (Refrigerator, Stove, AC)
Clean the refrigerator and leave the doors ajar. Clean the stove and oven. If you have central AC, consider covering the exterior unit to protect it from debris and weather. Shut off propane tanks if storing for extended periods.
Check and Protect Tires
Inflate tires to the recommended pressure (or slightly higher for storage). If storing for a long time, consider placing the RV on jack stands to take the weight off the tires and prevent flat spots. Cover tires to protect them from UV damage.
Battery Care and Maintenance
Disconnect your batteries. Clean the terminals. If you have lead-acid batteries, consider removing them and storing them in a cool, dry place, charging them periodically. If leaving them in, ensure they are fully charged and consider a trickle charger.
Inspect Seals and Exterior for Damage
Check all seals around windows, doors, and roof vents. Repair any cracks or gaps to prevent water and pest intrusion. Inspect the roof for any damage that could lead to leaks over winter.
Pest Prevention Strategies
Seal any potential entry points. Leave a few mothballs or pest deterrents inside. Plug exhaust vents and ensure no food sources are left behind.
Lubricate Moving Parts (Locks, Hinges, Leveling Jacks)
Apply a silicone-based lubricant to locks, hinges, and any other moving parts to prevent them from seizing up over the winter. This includes leveling jacks and slide-out mechanisms.
Troubleshooting Common Camper Winterization Problems
Even seasoned vets run into issues. Here’s how to handle them.
Dealing with Stubborn Drains or Blockages
If a drain is stubborn, it might be partially frozen or blocked. Try gently warming the area with a hairdryer (if using the antifreeze method, this is less critical than if you suspect remaining water). If it’s a blockage, you may need to use a plumbing snake.
Ensuring All Water is Completely Out
The best way is to use the air method and blow out *every* line until completely dry, or use enough antifreeze to get a strong, consistent flow from every faucet. In spring, when you de-winterize, you’ll flush the system thoroughly. If you suspect water remains, take extra precautions.
What to Do If You Forget a Step
It happens. If you realize you missed a faucet or a line, shut off the water/pump immediately if you’re still actively using the RV. If it’s already been sitting for a while and temps have dropped, you’ve likely got frozen water. Assess the damage. You might need to thaw pipes (carefully!) and then re-winterize properly.
Dealing with Frozen Pipes (Emergency Measures)
If you’re caught with frozen pipes, *do not* run hot water through them immediately, as this can cause them to burst. Try to locate the frozen section. Apply gentle heat – a hairdryer is your best bet. Never use an open flame. If a pipe bursts, shut off the water supply immediately and assess the damage. You’ll likely need professional repair.
Regional Winterization Considerations
Your climate dictates the level of protection needed.
Adapting for Extremely Cold Climates
If you live where temps regularly drop well below freezing for extended periods, double-check every step. Consider insulating your water lines if your RV is stored outdoors. Ensure your antifreeze is rated for the lowest temperatures expected. Some folks even use block heaters for their RVs.
Winterizing for Milder Winter Regions
If your winters are mild and hard freezes are rare, you might get away with a less aggressive approach. However, it’s still best practice to winterize to protect against those occasional dips below freezing. The antifreeze method is generally recommended even in milder climates.
Cost-Benefit Analysis: Antifreeze vs. Compressed Air
Let’s break down the financial side.
Initial Investment in Materials
RV antifreeze typically costs $10-$15 per gallon. You’ll need 2-3 gallons, so roughly $30-$45. A water heater bypass kit might run $20-$40 if you don’t have one. For compressed air, a decent compressor, regulator, and fittings can cost $100-$300+. So, antifreeze is cheaper upfront.
Time Commitment for Each Method
Antifreeze method: Can take 1-3 hours, depending on your RV’s complexity and how meticulous you are. Air method: Potentially faster, maybe 1-2 hours, but requires more setup and careful execution. Both require additional time for cleaning and other winterization tasks.
Long-Term Protection Effectiveness
Both methods, when done correctly, offer excellent protection. The antifreeze method provides a clear visual indicator that all water has been displaced. The air method requires absolute confidence that all water was blown out. The key is meticulous execution, regardless of method.

Frequently Asked Questions (FAQ) About Camper Winterization
How much RV antifreeze do I need?
For a typical RV, 2-3 gallons is usually sufficient. This accounts for filling the lines, traps, and potentially the water heater if you forget to bypass it (which you won’t, right?).
Can I use regular antifreeze instead of RV antifreeze?
Absolutely NOT. Regular automotive antifreeze is toxic and will contaminate your water system. Only use non-toxic, propylene glycol-based RV antifreeze.
What happens if I don’t winterize my camper?
You risk catastrophic damage. Pipes can burst, water heaters can crack, pumps can be destroyed, and you can end up with thousands of dollars in repairs. Not to mention mold and mildew issues.
How do I know if I did a good job winterizing?
After completing the steps, check that antifreeze is flowing consistently from every faucet and fixture. Ensure all drains have antifreeze in the traps. If you used the air method, visually confirm no water remains in accessible lines and traps are filled.
Can I leave my camper in storage with water in the lines?
Only if you are certain the temperature will never drop below freezing. This is risky and not recommended for long-term storage. It’s always best to fully winterize.
There you have it. Winterizing isn’t rocket science, but it requires attention to detail and a commitment to doing it right. Follow these steps, add your own veteran’s intuition, and your camper will be ready to roll when spring finally breaks. Stay warm, stay safe, and happy trails.