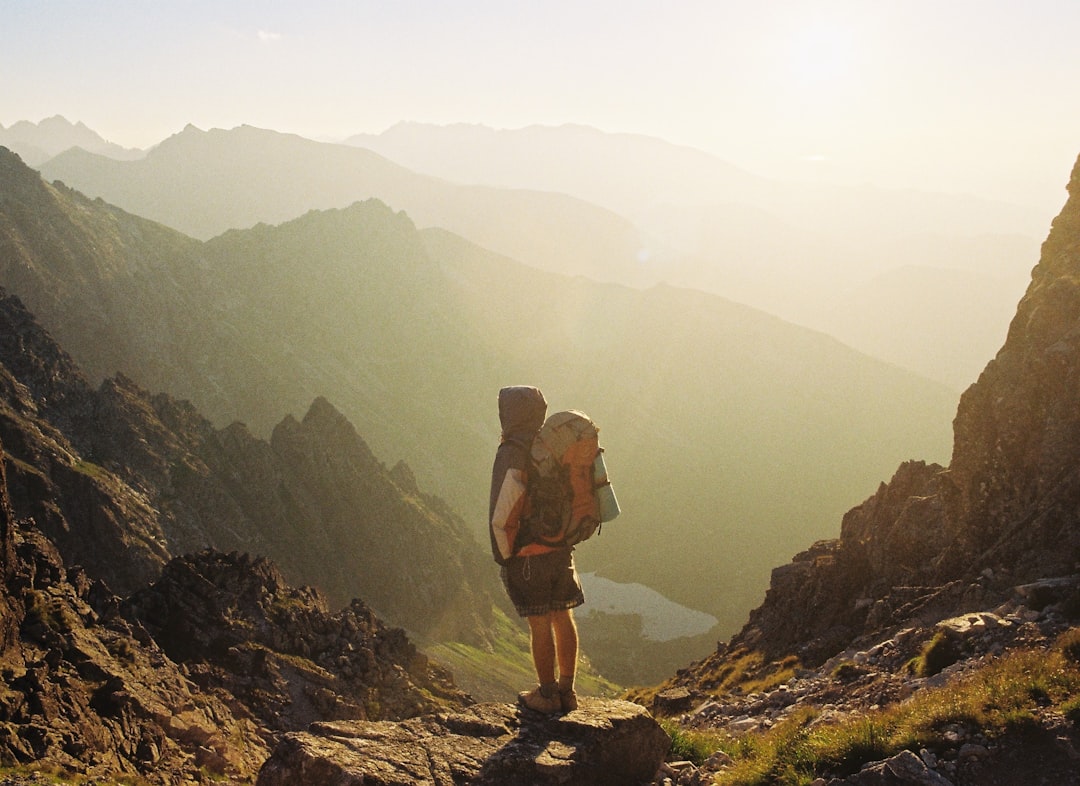
Planning a multi-day backpacking trip requires careful consideration of numerous factors to ensure a safe, enjoyable, and successful adventure. From selecting the right route and estimating daily mileage to securing necessary permits and preparing for unexpected weather, a thorough planning process is essential. This guide outlines a repeatable, step-by-step approach to help you craft your next backcountry excursion, along with a hypothetical example and a pre-trip checklist.
| Planning Element | Considerations | Notes |
|---|---|---|
| Route | Overall distance, terrain type, elevation gain/loss, points of interest. | Choose a route that matches your fitness and experience level. |
| Daily Mileage | Conservative estimates based on terrain, elevation, and pack weight. | Aim for less than you think you can do, especially in challenging terrain. |
| Elevation | Total gain and loss, significant climbs, and high-altitude considerations. | Steep ascents and descents significantly impact pace and energy. |
| Water Sources | Reliability, availability, and treatment methods. | Identify sources on maps and cross-check with recent trip reports. |
| Campsites | Legal, designated, or dispersed camping areas; Leave No Trace principles. | Research regulations for specific areas regarding camping. |
| Permits | Wilderness permits, entry passes, camping reservations. | Apply well in advance, as many popular areas have limited permits. |
| Bailout Points | Potential exit routes or road access in case of emergency. | Identify these on your map and know how to access them. |
| Weather | Expected conditions, potential for storms, temperature fluctuations. | Check forecasts immediately before departure and be prepared for changes. |
| Emergency Contact | Trusted individual with your detailed itinerary and check-in times. | Provide them with maps, route details, and expected return date. |
Step-by-Step Route Planning Process
A well-planned backpacking trip minimizes risks and maximizes enjoyment. This systematic approach breaks down the planning into manageable steps, ensuring all critical aspects are addressed.
1. Define Your Trip Goals and Parameters
Before you even look at a map, consider what you want from your trip. Are you seeking solitude, challenging climbs, scenic vistas, or a relaxed pace? Your goals will influence the type of terrain, desired mileage, and overall difficulty. Assess your current fitness level and that of your companions. Be realistic about your capabilities; it’s always better to plan a trip that’s slightly easier than you think you can handle, rather than one that pushes you too hard. Consider the time of year and the expected conditions, which will heavily influence your gear choices and route feasibility.
2. Select and Study Your Route
Once your goals are clear, begin researching potential routes. Utilize guidebooks, online resources, and topographic maps. Look for trails that align with your fitness and interests. Pay close attention to the total mileage, cumulative elevation gain and loss, and the nature of the terrain. Is it well-maintained singletrack, rougher cross-country, or a combination? Understanding the terrain is crucial for estimating daily progress. For example, a 10-mile day with 3,000 feet of elevation gain is significantly more demanding than a 10-mile day on flat ground. Cross-reference information from multiple sources, and always check for current conditions and alerts from land managers, as trail conditions can change rapidly due to weather, maintenance, or natural events. The National Park Service (NPS) emphasizes the importance of checking current conditions and alerts before heading out.
3. Break Down the Route into Daily Segments
This is where conservative planning is key. Divide your total route into daily mileage targets. A common mistake is to overestimate daily progress. Factors that slow you down include steep ascents, difficult terrain, heavy pack weight, heat, and unexpected delays. For beginners or those in challenging environments, aiming for 6-10 miles per day is often a good starting point. Experienced backpackers might aim for more, but even they benefit from building in buffer time. Consider the elevation profile for each day. A day with significant uphill travel will require shorter mileage than a flatter day. Factor in time for breaks, meals, and setting up camp. It’s better to arrive at camp with daylight to spare than to be hiking in the dark.
4. Identify Reliable Water Sources
Water is a critical resource. Thoroughly research potential water sources along your planned route. Consult topographic maps, trail descriptions, and recent trip reports. Note the reliability of each source; some streams may be seasonal and dry up later in the year. If relying on lakes or springs, understand their typical flow. Always plan to carry a water filter or purification tablets, and know how to use them. The NPS advises obtaining required permits, which often include information about water availability. It’s wise to carry more water than you think you’ll need between reliable sources, especially in arid environments or during hot weather.
5. Locate Legal and Suitable Campsites
Camping regulations vary widely by location. Some areas require you to camp only in designated sites, while others allow dispersed camping with specific restrictions. Research the rules for your chosen area. The NPS example for Zion National Park highlights the need to check park-specific pages for regulations on permits, water, campsites, and more. When choosing a campsite, adhere to Leave No Trace (LNT) principles. This means selecting a site that is durable (e.g., established campsite, rock, gravel, dry grass), is at least 200 feet from water sources and trails, and minimizes impact. Avoid camping in fragile meadows or areas with sensitive vegetation. If dispersed camping is allowed, look for previously impacted sites to avoid creating new ones.
6. Secure Necessary Permits and Reservations
Many popular backpacking destinations, especially within national parks and wilderness areas, require permits for overnight stays. These permits often limit the number of people in an area to protect resources and manage visitor impact. Research permit requirements well in advance of your trip. Some permits are issued on a first-come, first-served basis, while others are allocated through lotteries or advance reservations. Be prepared for application deadlines and fees. The NPS strongly advises obtaining required permits. Failure to do so can result in fines or being turned back from your trip.
7. Plan Transportation and Logistics
Consider how you will get to and from the trailhead. If it’s a loop trip, you might be able to park at the trailhead and return to your vehicle. For point-to-point hikes, you’ll need to arrange transportation, such as a shuttle service, a second vehicle, or coordinating with friends. Research trailhead access, parking availability, and any potential fees. Understand the road conditions leading to the trailhead; some may require high-clearance or four-wheel-drive vehicles, especially in remote areas. The NPS example for Zion mentions transport as a key planning consideration.
8. Prepare for Weather and Emergencies
Weather can change rapidly in the backcountry. Check the forecast for your specific route and elevation range immediately before you leave. Be prepared for a range of conditions, including rain, wind, snow (even in summer at high elevations), and significant temperature swings. Pack appropriate layers and rain gear. Beyond weather, consider potential emergencies. Identify bailout points – locations where you can exit the trail if necessary due to injury, illness, or other unforeseen circumstances. Know your route and have backup navigation tools, such as a map and compass, in addition to a GPS device or smartphone app. Leave a detailed trip plan with a trusted contact, including your route, expected return date, and emergency procedures. The NPS highlights the importance of leaving a trip plan with a trusted contact.
9. Plan Your Food and Gear
Your food should be lightweight, calorie-dense, and easy to prepare. Plan meals for each day, including snacks. Consider how you will store your food to protect it from wildlife. Bear canisters are often required in bear country. Your gear list should be comprehensive but also mindful of weight. Pack essentials like a first-aid kit, navigation tools, shelter, sleeping system, and appropriate clothing. The REI guidance on backpacking planning covers gear and food as key components.
Hypothetical Three-Day Backpacking Example
This example illustrates how to apply the planning steps to a hypothetical three-day trip. It is not based on a real trail and is for demonstration purposes only.
Day 1: Trailhead to Meadow Creek Camp
- Route: Start at the North Ridge Trailhead, follow the ridgeline for 5 miles, then descend 2 miles to Meadow Creek.
- Daily Mileage: 7 miles. This is conservative, accounting for a significant initial climb and a descent.
- Elevation: Start at 6,000 ft, climb to 7,500 ft, then descend to 6,500 ft. Total gain: 1,500 ft; total loss: 1,000 ft.
- Water: Assume a reliable spring at mile 3 and Meadow Creek at the campsite. Carry 2 liters initially.
- Campsite: Meadow Creek Camp is a designated site marked on the map, located 200 ft from the creek.
- Permits: Wilderness permit required, obtained online 3 months prior.
- Bailout: A forest road crosses the trail at mile 4.
- Weather: Forecast calls for sunny days, highs in the 70s, lows in the 40s.
- Emergency Contact: Partner informed of itinerary and check-in times.
Day 2: Meadow Creek Camp to Summit Lake
- Route: Follow Meadow Creek upstream for 4 miles, then ascend 3 miles to Summit Lake.
- Daily Mileage: 7 miles. The ascent is the primary challenge.
- Elevation: Start at 6,500 ft, ascend to 8,500 ft. Total gain: 2,000 ft; total loss: 0 ft.
- Water: Meadow Creek is reliable for the first 4 miles. Summit Lake is the water source at camp.
- Campsite: Dispersed camping allowed around Summit Lake, adhering to LNT principles (at least 200 ft from water, on durable surfaces).
- Permits: Covered by the initial wilderness permit.
- Bailout: No easy bailout points on this segment; requires backtracking or a significant detour.
- Weather: Forecast remains similar, but be prepared for potential afternoon thunderstorms at higher elevations.
- Emergency Contact: No scheduled check-in today.
Day 3: Summit Lake to Trailhead
- Route: Descend 6 miles back to the North Ridge Trailhead via a different, steeper trail.
- Daily Mileage: 6 miles. A shorter day to allow for travel time home.
- Elevation: Start at 8,500 ft, descend to 6,000 ft. Total gain: 0 ft; total loss: 2,500 ft.
- Water: Limited water sources on the descent; carry enough from Summit Lake.
- Campsite: N/A (hiking out).
- Permits: Covered by the initial wilderness permit.
- Bailout: A ranger station is located 2 miles from the trailhead.
- Weather: Expected to remain clear.
- Emergency Contact: Expected return by 3 PM; contact will be alerted if no communication by 5 PM.
Pre-Trip Checklist
Before you head out, run through this checklist to ensure you haven’t overlooked anything critical.
- Route Plan Finalized: Detailed itinerary, maps, and navigation tools.
- Permits Secured: All necessary permits and reservations obtained.
- Transportation Arranged: To and from the trailhead.
- Weather Forecast Checked: Latest forecast for your specific area.
- Gear Packed: Shelter, sleeping system, clothing layers, rain gear, cooking gear, first-aid kit, navigation tools, headlamp, sun protection, insect repellent.
- Food and Water: Sufficient food for the trip, water filter/purifier, and water bottles/reservoir.
- Emergency Contact Notified: Detailed trip plan left with a trusted person.
- Leave No Trace Principles Reviewed: Understand how to minimize your impact.
- Physical Fitness: Ensure you are adequately prepared for the demands of the trip.
- Communication Device: Fully charged phone, satellite messenger, or personal locator beacon (PLB) if in a remote area with no cell service.
Frequently Asked Questions
How much daily mileage should I aim for?
This is highly individual and depends on your fitness, pack weight, and terrain. For most people, especially in mountainous or rugged areas, 6-10 miles per day is a reasonable and conservative target. It’s always better to plan for less and have extra time than to push too hard and risk exhaustion or injury.
What if I encounter unexpected weather?
Be prepared for the worst. Always carry appropriate rain gear and extra layers, even if the forecast is clear. If severe weather strikes, seek safe shelter, avoid exposed ridges or summits, and wait for conditions to improve. Your navigation tools and a well-thought-out itinerary with bailout points can help you make informed decisions.
How do I ensure I have enough water?
Consult maps and recent trip reports for reliable water sources. Plan your daily mileage between these sources and carry enough water to bridge any gaps, especially in dry areas. Always treat water from natural sources using a filter, purifier, or by boiling.
Is it okay to camp anywhere?
No, camping regulations vary significantly. Always research the rules for the specific area you plan to visit. Many places require permits and designated campsites. Where dispersed camping is allowed, adhere strictly to Leave No Trace principles, including camping at least 200 feet from water and trails and on durable surfaces.