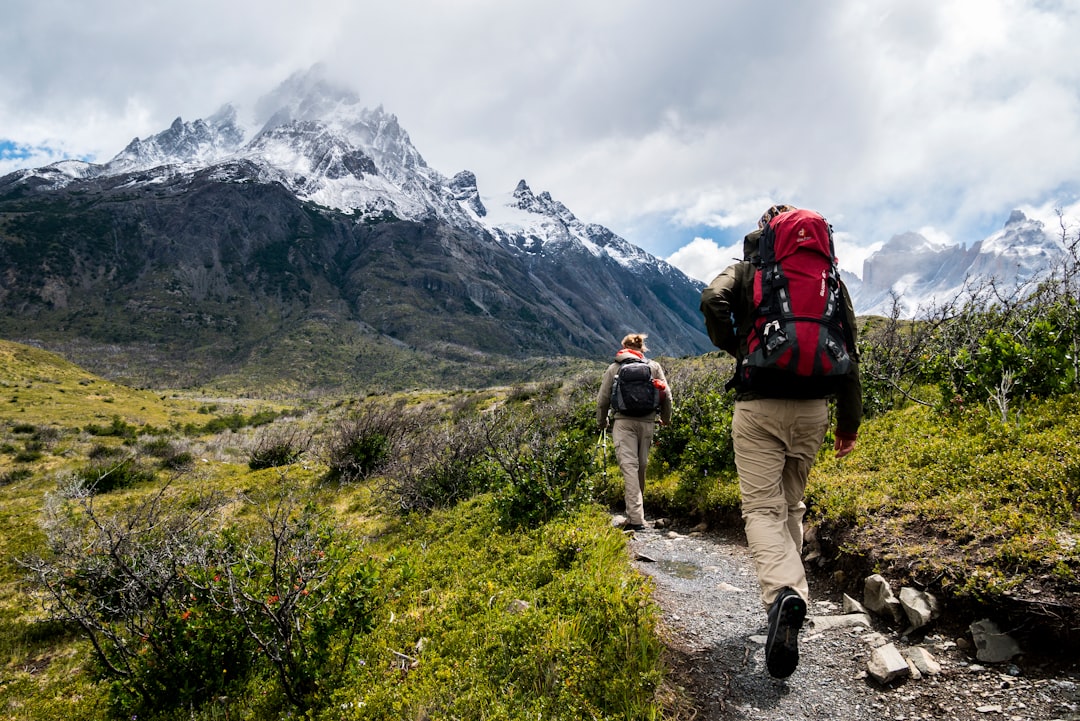
🧰 Tools & Gear You’ll Need
- Trekking poles or sturdy walking sticks
- Appropriate footwear (hiking boots, water shoes)
- Dry bags for essential gear
- Sturdy pack with adjustable straps
- Navigation tools (map, compass, GPS)
- First-aid kit
- Whistle
- Extra layers of clothing
- Repair kit (duct tape, cordage)
Hiking often leads us to breathtaking, wild places, and sometimes, that includes rivers. While a river crossing can be an exhilarating part of an adventure, it also presents one of the most significant dangers for hikers. Unpreparedness can quickly turn a scenic hike into a life-threatening situation. This guide provides a comprehensive, step-by-step approach to safely navigating river crossings, ensuring you can enjoy the wilderness with confidence and preparedness.
Why River Crossing Safety Matters for Hikers
Rivers, especially in remote areas, are dynamic environments. Their depth, speed, and clarity can change dramatically and without warning due to weather, snowmelt, or upstream conditions. A seemingly benign stream can become a dangerous torrent in a matter of minutes. Underestimating a river’s power can lead to being swept off your feet, hypothermia, severe injury, or worse. Understanding the risks and knowing how to mitigate them is not just about completing your hike; it’s about survival. This knowledge empowers you to make informed decisions, assess potential hazards, and employ the correct techniques to ensure your safety and the safety of your group.

When You Should Not Cross a River
The most crucial aspect of river crossing safety is knowing when *not* to cross. This decision requires honest self-assessment and a clear understanding of your limits and the river’s conditions. Never attempt to cross if:
- The water is above your waist or chest.
- The current is fast and powerful, making it difficult to stand. A general rule of thumb is if you can’t easily walk through it on flat ground, you likely can’t cross it safely.
- You are alone and uncertain about your ability to handle the crossing.
- You are experiencing hypothermia, fatigue, or are otherwise physically compromised.
- Visibility is poor (e.g., heavy rain, fog, or at night), making it hard to spot hazards.
- The river is rising rapidly, indicating a potential flash flood.
- You cannot identify a safe crossing point or assess the bottom stability.
How to Assess a River Before Crossing While Hiking
Before taking the first step into the water, a thorough assessment of the river and potential crossing points is paramount. This pre-crossing evaluation can prevent dangerous situations and save you from unnecessary risks.
Check Water Depth, Speed, and Bottom Stability
Use a long stick or trekking pole to probe the depth and feel the riverbed. Look for consistent readings; depth can vary significantly across the river. Assess the current’s speed. If the water is moving faster than a brisk walking pace, it poses a significant danger. Try to gauge the riverbed’s composition: is it sandy, rocky, or muddy? Loose gravel or silt can be unstable, making it difficult to maintain footing. Avoid areas with large, loose rocks that could shift underfoot.
Look for Safer Crossing Points Upstream or Downstream
Rarely is the first place you encounter a river the safest or easiest to cross. Scout both upstream and downstream for a better location. Look for:
- Wider, shallower sections: These generally have slower currents and are easier to navigate.
- Slightly angled bends: A sandbar or gravel bar on the inside of a bend might offer a more stable crossing.
- Clearer water: While not always indicative of depth, clearer water can sometimes offer better visibility of the riverbed.
- Natural bridges or logjams: If a sturdy, stable log spans the river, it might be a viable option, but assess its stability rigorously. Never cross over or under fallen trees in the water, as they can create dangerous hydraulics.
Watch for Hidden Hazards, Flash Floods, and Cold Water
Beyond depth and speed, other hazards exist. Submerged logs, undercut banks, and strong eddies can be invisible dangers. Be aware of the weather forecast and recent rainfall in the area. A sunny day doesn’t guarantee safety if heavy rain occurred upstream, which can trigger flash floods. Cold water poses a serious risk of hypothermia, which can rapidly impair physical and mental function. Even in summer, mountain rivers can be dangerously cold. If you have any doubts about the temperature, take precautions or consider turning back.

Essential River Crossing Gear for Hiking
Proper gear can significantly increase your safety and confidence when facing a river crossing. Investing in and knowing how to use these items can make a critical difference.
Trekking Poles and Sturdy Walking Sticks for River Crossings
Trekking poles are arguably the single most important piece of gear for river crossings. They act as a third and fourth point of contact, providing crucial stability on slippery or uneven riverbeds. They also help you probe depth and current, and brace yourself against the flow. If you don’t have trekking poles, find a sturdy, long stick on the bank before you enter the water. Ensure it’s strong enough not to break under pressure.
Hiking Boots, Water Shoes, and Footwear Choices
Your footwear choice is critical. Sturdy hiking boots offer ankle support and protection, but they become heavy and waterlogged, increasing the risk of slips. Water shoes or sturdy trail shoes that drain well are often preferred for crossings as they provide good grip and dry faster. Whatever you choose, ensure it fits well and offers reliable traction. Remove thick socks before crossing if they retain too much water, but consider wearing thin socks to prevent blisters from wet boots.
Pack Straps, Dry Bags, and Emergency Essentials
Your backpack should be secured but adjustable. Loosen the hip belt and chest strap slightly before crossing. This allows you to shrug the pack off quickly if you fall, preventing it from pulling you underwater. Use dry bags for essential items like electronics, a first-aid kit, and extra clothing. Ensure these are securely sealed. Always carry a whistle to signal for help and know how to use it. A basic repair kit, including duct tape and cordage, can be invaluable for quick fixes.

How to Cross a River Safely While Hiking Step by Step
Mastering the technique for crossing a river is essential for safety. Follow these steps meticulously:
Assess and Prepare
Scout the river for the safest crossing point. Prepare your gear: loosen pack straps, secure dry bags, and have trekking poles ready. Mentally rehearse the crossing.
Face Upstream and Brace Against the Current
Enter the water facing slightly upstream, about a 45-degree angle to the current. This allows you to use your body as a shield against the water’s force and position your poles effectively for bracing.
Use the Shuffle Step and Keep Three Points of Contact
Instead of lifting your feet, shuffle them. This maintains a solid connection with the riverbed and prevents your feet from being caught by the current. Always maintain at least three points of contact: two poles and one foot, or two feet and one pole.
Move Slowly at a Slight Downstream Angle
Move deliberately and slowly. Angle your body slightly downstream (about 10-20 degrees relative to the direct crossing path) to help you navigate the current rather than fighting it head-on. This posture uses the current to help propel you across.
Test Each Step Before Committing Your Weight
Before shifting your weight, use your poles and the foot that is still on the riverbed to test the stability and depth of the next spot. Only when you are confident in your footing should you move your weight.
How to Cross a River Safely as a Solo Hiker
Crossing a river alone requires extra vigilance and a conservative approach. If you are not confident, it is best to find another route or wait.
Solo River Crossing Technique for Stability
As a solo hiker, your primary tool for stability is your trekking pole(s). Plant your poles firmly upstream and to the side of where you intend to step. Use them to brace yourself. Move slowly, shuffling your feet, and testing each step. Maintain a low center of gravity by slightly bending your knees. If the current feels too strong, do not proceed. Use your poles to pivot or move laterally if needed.
Solo Hiker Mistakes to Avoid
Common mistakes include rushing the crossing, not using poles effectively, carrying a pack that’s too tight, and underestimating the current. Never try to “power through” a strong current; it’s a losing battle. Also, avoid crossing at the narrowest or fastest-looking point, as these are often the most dangerous.
How to Cross a River Safely with a Partner or Group
Crossing with others adds complexity but also offers the advantage of mutual support and assistance.
Two-Person River Crossing Technique
The standard two-person technique involves both hikers facing upstream, linked together by their upstream arms. A trekking pole can be placed between them, with each person holding one end, providing a stable tripod. The stronger hiker should generally be downstream to help brace the other. Move slowly and deliberately, shuffling steps. Communicate constantly.
Group River Crossing Formations for Hiking Parties
For larger groups, a “human chain” or a modified two-person technique can be employed. One effective method is to have the strongest hikers position themselves strategically, either upstream to break the current or downstream to catch anyone who slips. A group leader should assess the situation and direct the crossing order. Ensure everyone understands the plan and signals before starting. Children or less experienced hikers should cross with capable adults.
What to Do If You Slip or Fall While Crossing a River
Falling in moving water is a serious emergency. Knowing how to react can save your life.
Self-Rescue Basics in Moving Water
If you fall, immediately try to get to your feet and face downstream. Keep your feet up, pointing them downstream, to avoid getting them caught under rocks or logs. Use your poles or arms to fend off obstacles. Try to steer yourself towards the nearest bank. If you have a pack, try to release it if it’s dragging you down, but only if it doesn’t jeopardize your immediate safety.
How to Protect Yourself and Your Pack
If you remain standing, use your poles to regain balance. If you fall, try to get your pack off if it’s pulling you under, but only after assessing that you can do so without losing control. A properly loosened hip belt is key here. If you are part of a group, your partners should be ready to reach for you with a pole or cord, or move to a position where they can help you to the bank safely.
River Crossing Safety Tips by Water Conditions
Different water conditions require different strategies.
How to Cross Shallow Slow-Moving Water
This is the simplest type of crossing. Use trekking poles for added stability and to probe the bottom. Shuffle your feet, maintaining at least three points of contact. Watch for deeper pockets or slippery spots. Ensure your boots have good traction.
How to Cross Knee-Deep Water Safely
Knee-deep water often means a stronger current. Face upstream, use poles for bracing, and shuffle your feet. Consider the two-person technique if the current is strong. Keep your center of gravity low. Be extra cautious about the riverbed’s stability.
How to Handle Fast-Moving or Cold Rivers
For fast-moving water, avoid crossing if possible. If you must, use the strongest possible bracing techniques, ideally with a partner or group. Keep your pack on but ensure the hip belt is loose. Always face upstream and use the shuffle step. For cold rivers, the risk of hypothermia is high. Cross as quickly as possible while maintaining technique. Wear quick-drying clothing and change into dry layers immediately after crossing. If hypothermia is a concern, do not cross.
Common Mistakes to Avoid When Crossing a River While Hiking
Many accidents happen due to preventable errors. Being aware of these common pitfalls can help you avoid them.
Crossing Above Logjams, Waterfalls, or Unstable Banks
Logjams can create powerful undertows and hidden traps. Waterfalls and rapids indicate steep gradients and fast currents. Unstable banks can erode and collapse. Always cross well above or below these features, never directly near them.
Crossing Too Fast or With Loose Gear
Rushing leads to mistakes. Take your time to assess and execute the crossing. Loose gear can snag on submerged objects or become a hazard if it falls into the water. Ensure everything is securely packed or stowed.
Fighting the Current Instead of Working With It
The goal isn’t to resist the water’s force head-on but to navigate it. Angling your body and using your poles effectively allows the current to assist you in moving across.
River Crossing Safety Checklist for Hikers
Use this checklist before, during, and after your river crossing.
Pre-Crossing Checklist
- ☑ Assessed water depth, speed, and riverbed?
- ☑ Scouted for safer crossing points upstream/downstream?
- ☑ Checked for hidden hazards (logs, eddies, undercut banks)?
- ☑ Verified weather forecast and potential for flash floods?
- ☑ Assessed personal fitness and comfort level?
- ☑ Prepared gear (loosened pack straps, dry bags sealed)?
- ☑ Secured trekking poles or found a sturdy stick?
- ☑ Chosen appropriate footwear?
- ☑ Communicated plan with hiking partners?
During-Crossing Checklist
- ☑ Facing upstream at a 45-degree angle?
- ☑ Using trekking poles effectively for bracing?
- ☑ Maintaining at least three points of contact?
- ☑ Shuffling feet, not lifting them?
- ☑ Moving slowly and deliberately?
- ☑ Testing each step before committing weight?
- ☑ Angled slightly downstream to use current?
- ☑ Communicating with partners?
- ☑ Ready to release pack if necessary?
Post-Crossing Checklist
- ☑ Reached the opposite bank safely?
- ☑ Checked for injuries?
- ☑ Secured pack and gear?
- ☑ Changed into dry layers if necessary, especially in cold weather?
- ☑ Assessed group members for well-being?
- ☑ Packed away wet gear appropriately?
By internalizing these principles and practicing these techniques, you can transform a potentially perilous river crossing into a manageable and even rewarding part of your hiking adventure. Safety and preparedness are your most valuable tools in the backcountry.