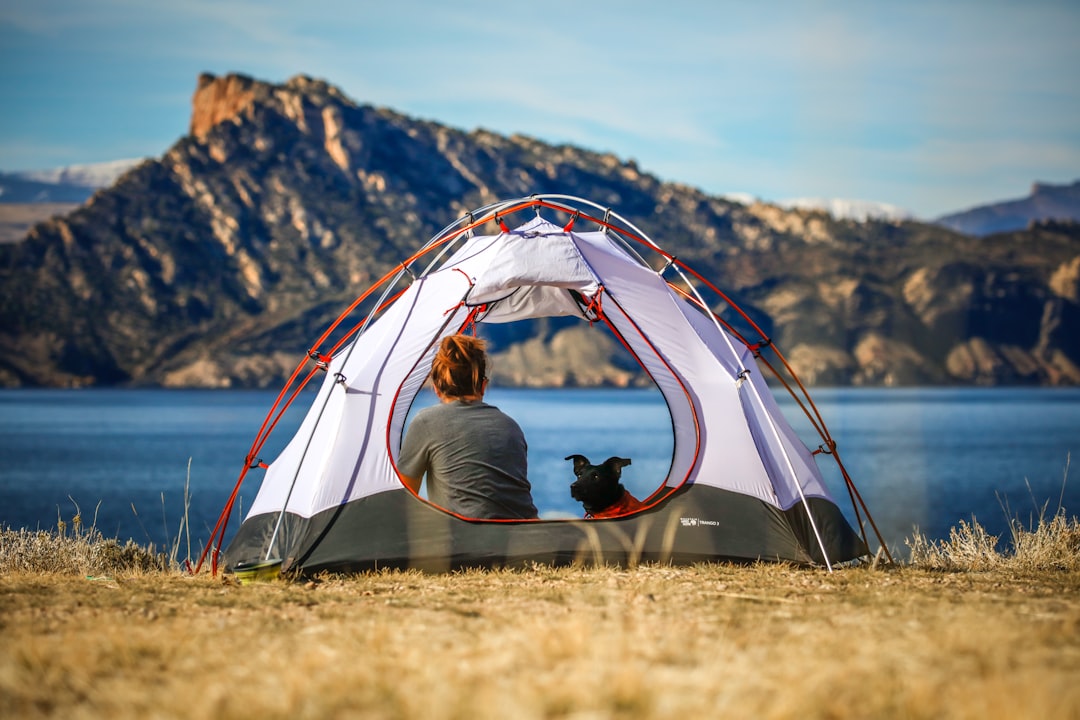
Tent seams are the unsung heroes of your shelter, quietly keeping the elements at bay. However, over time and with repeated use, these crucial junctions can degrade, leading to leaks and a less-than-comfortable camping experience. Fortunately, with the right approach and materials, you can effectively waterproof your tent seams, extending the life of your gear and ensuring dry nights under the stars. This guide will walk you through the process, from understanding your tent’s fabric to applying the best seam sealers for lasting protection.
| Product Type | Best For | Application | Curing Time | Notes |
| Silicone-Based Sealer (e.g., Gear Aid Seam Grip + SIL) | Silnylon and Silpoly tents | Thin, continuous bead along seam; smooth with brush or finger | 2–24 hours (8+ hours recommended in humid conditions) | Specifically formulated to adhere to silicone-treated fabrics. |
| Polyurethane-Based Sealer (e.g., Gear Aid Seam Grip + WP) | PU-coated tents | Thin, continuous bead along seam; smooth with brush or finger | 2–24 hours (8+ hours recommended in humid conditions) | Designed for fabrics with a polyurethane coating. |
| Solvent-Based Sealer (e.g., McNett Seam Sealer) | PU-coated tents | Thin, continuous bead along seam; smooth with brush or finger | 2–24 hours (8+ hours recommended in humid conditions) | Can be effective on PU-coated fabrics; ensure good ventilation. |
| DWR Sprays | Tent fabric surface | Spray evenly onto fabric | Varies by product; typically dries quickly | Revitalizes water repellency of the fabric itself, but does NOT seal seams. |
| Factory Seam Tape | New tents or professional repairs | Heat-applied or specialized adhesive | N/A (factory applied) | Difficult to apply effectively as a DIY repair; often comes with manufacturer warranties. |
Understanding Your Tent’s Fabric and Sealer Needs
The effectiveness of any seam-sealing effort hinges on correctly identifying your tent’s fabric coating. Modern tents primarily utilize two types of waterproof coatings: silicone and polyurethane (PU). Using the wrong type of sealer can result in poor adhesion, premature failure, and wasted effort.
Silicone-Coated Fabrics (Silnylon/Silpoly)
Tents made from Silnylon (silicone-impregnated nylon) or Silpoly (silicone-impregnated polyester) are known for their excellent strength-to-weight ratio, durability, and water repellency. The silicone coating is typically applied to the *outside* of the fabric. Due to the slick nature of silicone, standard sealers often struggle to adhere. For these materials, a silicone-based seam sealer is essential. Products like
are specifically formulated to bond with silicone-treated fabrics.
Polyurethane-Coated Fabrics (PU)
Polyurethane coatings are generally applied to the *inside* of the fabric, creating a waterproof barrier. PU-coated tents are common across various price points and are often made from polyester or nylon. These fabrics provide good waterproofing and are generally more abrasion-resistant than some silicone-treated materials. For PU-coated tents, you’ll need a polyurethane-based or solvent-based seam sealer. Options such as
or McNett Seam Sealer are suitable choices. Always consult your tent manufacturer’s specifications if you are unsure about your tent’s fabric coating.
Seam Sealers vs. DWR Sprays vs. Seam Tapes
It’s important to distinguish between different types of waterproofing treatments.
- Liquid Seam Sealers: These are the primary products for DIY seam repair. They are applied directly to the seam stitching to fill gaps and create a waterproof barrier.
- DWR Sprays: Durable Water Repellent (DWR) sprays are applied to the *surface* of the tent fabric to restore its ability to bead water. While crucial for overall tent performance, DWR treatments do not seal the seams themselves.
- Seam Tapes: Factory-applied seam tapes are strips of waterproof material bonded to seams, often using heat. While effective, DIY application of seam tape can be challenging without specialized tools and is generally not recommended for field repairs. Generic tapes like duct tape should be avoided as their adhesives degrade quickly and can trap moisture.

Preparing Your Tent for Seam Sealing
Proper preparation is key to a successful and long-lasting seam repair. Skipping these steps can lead to a weak bond and premature failure of the sealant.
Setting Up Your Workspace
Choose a clean, dry, and well-ventilated area for your repair. A garage, a large indoor table, or even a sheltered outdoor spot on a calm, dry day can work. Ensure the area is free from dust and debris, as these can easily get embedded in the curing sealant. Lay your tent out flat, allowing easy access to all the seams you intend to treat.
Performing a Leak Test
Before applying any sealant, it’s wise to identify exactly where your tent is leaking. Set up your tent and gently spray it down with a hose for about five minutes, focusing on the seams and zippers. Go inside the tent with a flashlight and carefully inspect for any signs of moisture ingress, such as drips or damp spots. Mark these areas with painter’s tape or a washable marker for targeted treatment.
Cleaning the Seams
This is a critical step for ensuring proper adhesion.
- Remove Old Sealant and Debris: Gently scrape or pick away any old, peeling, or cracked seam sealer using a dull knife or plastic scraper. Remove any accumulated dirt, mildew, or other debris from the seam area. Be careful not to damage the tent fabric itself.
- Clean with Rubbing Alcohol: Dampen a clean, lint-free cloth with 90% isopropyl rubbing alcohol. Wipe down the seams you plan to treat, both inside and out if necessary. The alcohol acts as a solvent to remove oils, dirt, and residue, preparing a clean surface for the new sealant. Allow the alcohol to evaporate completely, which usually takes only a few minutes.
- Address Peeling Seam Tape: If your tent has factory seam tape that is peeling, you may need to remove it entirely. If it’s significantly delaminated, it’s best to remove it. If the tape is mostly intact but worn, you can often apply liquid sealer directly over it.

Applying the Seam Sealer
Once your tent seams are clean and dry, you’re ready to apply the sealer. The goal is to create a thin, continuous, and even layer that penetrates the stitch holes.
Application Technique
Apply a thin, continuous bead of the appropriate seam sealer directly along the seam line. Aim to cover the stitching and extend about 2–3mm onto the fabric on either side. Use the applicator provided with the sealer, or a small foam brush, to gently smooth the sealer. The smoothing action helps the sealer penetrate the stitch holes and creates a uniform, low-profile bead. Avoid applying thick ridges of sealer, as these can crack over time. If sealing both the inside and outside of a seam, allow the first side to cure partially before applying to the second side.
Inside vs. Outside Application
Deciding whether to seal the inside or outside of a seam depends on the seam’s location and exposure.
- Inside Application: Sealing seams from the inside can protect the sealant from UV exposure and abrasion, potentially increasing its lifespan. This is often preferred for floor seams and main body seams.
- Outside Application: Sealing from the outside can be more effective for seams that are exposed to direct rain and wind, such as flysheet seams or vestibule edges.
For maximum protection, especially on high-wear areas, consider sealing both sides of a seam if accessible.

Curing and Testing Your Repair
Proper curing is essential for the seam sealer to reach its full waterproof potential. Rushing this process can compromise the repair.
Curing Time and Conditions
Most liquid seam sealers require a curing period of 2 to 24 hours. This time can vary depending on the product, temperature, and humidity. In humid conditions, it’s advisable to allow at least 8 hours, or preferably overnight, for the sealer to cure fully. The tent should be stored in a dry, well-ventilated area during this time. Ensure the tent is completely dry to the touch and no longer tacky before packing it away.
Performing a Water Test
After the sealer has fully cured, perform another water test to confirm the effectiveness of your repair. Use a hose on a medium pressure setting and spray the treated seams for approximately five minutes. Inspect the interior of the tent for any signs of leakage. Water should bead up and roll off the treated seams. If you notice any damp spots or water beading on the inside, you may need to apply another thin layer of sealer to those areas and allow it to cure again.

Maintenance and Storage
Regular maintenance and proper storage will help keep your tent’s seams waterproof for years to come.
Frequency of Reapplication
Even with proper application, seam sealers can degrade over time, especially in high-wear areas like door seams, vestibule corners, and areas that experience significant stress. It’s recommended to inspect your tent’s seams annually and reapply sealant to high-wear zones every 12 to 18 months, or as needed. This proactive approach can prevent leaks before they become a problem.
Proper Tent Storage
The way you store your tent significantly impacts its longevity. Always ensure your tent is completely dry before storing it. Damp storage can lead to mildew growth, which can degrade PU coatings and weaken fabric fibers. Store your tent loosely in a breathable bag in a cool, dry place, away from direct sunlight and extreme temperatures.
Frequently Asked Questions
What is the difference between seam sealer and DWR spray?
Seam sealer is applied directly to the stitching of tent seams to create a waterproof barrier. DWR (Durable Water Repellent) spray is applied to the fabric surface to make water bead up and roll off, but it does not seal seams.
Can I use duct tape to repair tent seams?
No, duct tape is not recommended for repairing tent seams. Its adhesive degrades quickly in outdoor conditions, and the tape itself can trap moisture, leading to mildew and further damage.
How often should I reapply seam sealer?
It’s generally recommended to inspect your tent seams annually and reapply sealant to high-wear areas every 12 to 18 months, or whenever you notice signs of wear or leakage.
What happens if I use the wrong type of seam sealer?
Using the wrong type of seam sealer (e.g., PU sealer on a Silnylon tent) can result in poor adhesion, the sealer peeling off, and a failure to waterproof the seams effectively. Always match the sealer to your tent’s fabric coating.
Can I seal seams on a tent that has factory seam tape?
Yes, if the factory seam tape is intact but worn, you can often apply a liquid seam sealer over it for added protection. If the tape is peeling significantly, it may need to be removed before applying new sealant.