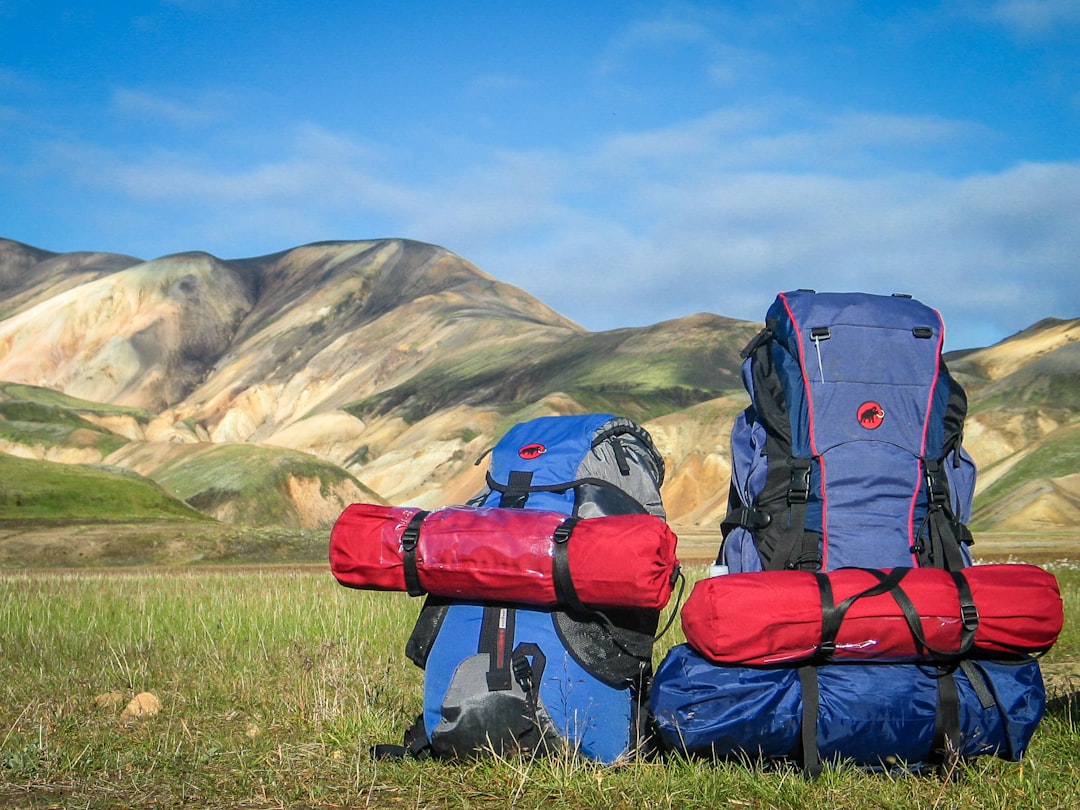
Packing a backpacking pack efficiently is a fundamental skill that can significantly enhance your comfort, safety, and overall enjoyment on the trail. It’s not just about fitting everything in; it’s about strategic placement that balances weight, ensures accessibility, and maintains your stability. As gear evolves and trends shift, the core principles of packing remain remarkably consistent, emphasizing smart organization and mindful weight distribution.
| Pack Category | Capacity (Liters) | Typical Use | Key Considerations |
| Daypack | 20–35 | Single-day hikes | Lightweight, minimal gear, quick access |
| Weekend Pack | 35–50 | 1–3 night trips | Balance of capacity and weight, essential gear |
| Multi-day/Extended Trip Pack | 50–80+ | 3+ night trips | Ample space for food, clothing, and specialized gear |
Understanding Your Backpacking Pack
Choosing the right backpacking pack is the first crucial step in preparing for any multi-day excursion. Packs are generally categorized by their capacity, measured in liters, which dictates how much gear they can hold. This capacity directly correlates with the intended duration of your trip. For short, single-day adventures, a daypack ranging from 20 to 35 liters is usually sufficient, offering enough space for essentials like water, snacks, a first-aid kit, and an extra layer. Weekend trips, typically lasting one to three nights, often call for a weekend pack with a capacity of 35 to 50 liters. These packs provide a good balance, allowing you to carry necessary sleeping gear, cooking equipment, and additional clothing without excessive bulk. For longer journeys, spanning three nights or more, multi-day or extended trip packs are required, with capacities typically starting at 50 liters and extending to 80 liters or beyond. These larger packs are designed to accommodate more food, a wider range of clothing, and potentially specialized equipment for varied conditions.
Beyond capacity, the fit of a pack is paramount. The most critical factor in achieving a proper fit is torso length, not your overall height. Most reputable outdoor retailers can help you measure your torso length accurately. A pack that is correctly sized for your torso will allow the hip belt to rest comfortably on your iliac crest (the top of your hip bones), ensuring that the majority of the pack’s weight is transferred to your hips rather than your shoulders. This is essential for comfort and preventing strain. Shoulder straps should contour smoothly over your shoulders without significant gaps, and load lifter straps, which connect the top of the shoulder straps to the pack frame, should be adjusted to pull the load closer to your body. Trying on packs with weight inside is highly recommended to simulate real-world conditions and identify potential fit issues before you hit the trail.
Key Components of a Backpacking Pack
Modern backpacking packs are designed with a variety of features to enhance organization and accessibility. The main compartment is the largest section, typically accessed from the top, and is where most of your gear will reside. Many packs include a top lid, often referred to as a “brain,” which provides external storage for items you need to access quickly, such as maps, snacks, or rain gear. Some packs feature a dedicated sleeping bag compartment at the bottom, often with a zippered opening and a removable divider, allowing for easy access to your sleeping system. Side pockets are commonly used for water bottles, tent poles, or other long items, while a front “shove-it” pocket, usually made of stretchy mesh, is ideal for stashing wet rain gear or an extra layer you need to shed or don quickly. Hip belt pockets are invaluable for keeping small essentials like a phone, GPS device, lip balm, or energy bars within easy reach. Inside, many packs have a hydration sleeve designed to hold a water reservoir, allowing for convenient hydration on the go. Compression straps, located on the sides and sometimes the bottom of the pack, are vital for cinching down the load, preventing items from shifting, and reducing the pack’s overall volume.

Essential Principles for Packing a Backpacking Pack
The way you pack your backpack directly influences your comfort and stability on the trail. Improperly packed gear can lead to an unbalanced load, causing discomfort, fatigue, and even increasing the risk of falls. The fundamental principle revolves around weight distribution, aiming to keep your center of gravity aligned with your body’s natural center.
Weight Distribution: Keeping Your Center of Gravity Balanced
The golden rule for packing heavy items is to place them close to your back and centered, ideally between your shoulder blades. This positioning ensures that the pack’s weight is carried directly over your hips and aligns with your body’s core. Items of medium weight should then surround these heavy essentials, filling the space and further stabilizing the load. Lightweight items, such as sleeping bags or extra clothing, are best placed at the bottom and top of the pack. This arrangement prevents the pack from feeling like it’s pulling you backward or making you feel top-heavy. Imagine your pack as an extension of your spine; heavy items packed too far away from your back will create leverage that strains your muscles and throws off your balance.
Compression and Accessibility: Maximizing Your Pack’s Capacity
Once your gear is strategically placed, utilizing compression straps is key. Cinching these straps down tightens the load, preventing items from shifting during movement. This not only enhances stability but also reduces the pack’s overall volume, making it feel more compact and manageable. Conversely, it’s important to avoid overstuffing your pack to the point where zippers are strained or the pack becomes an unyielding, awkward shape. This usually indicates inefficient packing or carrying too much gear.
Accessibility is another critical consideration. Think about what you might need during the day without having to unpack your entire bag. Rain gear, for instance, should be readily accessible, perhaps in the top lid or front shove-it pocket. Water sources should be easy to reach, either via side pockets or a hydration reservoir. Snacks are perfect for hip belt pockets, and navigation tools like a map and compass should be kept in a place where you can retrieve them quickly. Your first-aid kit should also be easily accessible in case of minor injuries.

Step-by-Step Guide: How to Pack Your Backpacking Pack
Packing your backpack is a methodical process that begins long before you leave home.
Step 1: Gather and Organize Your Gear
The first step is to lay out *all* the gear you intend to bring. Using a checklist is highly recommended to ensure nothing essential is forgotten and to identify any redundancies. Group similar items together—all your cooking gear, sleeping equipment, clothing layers, etc. This visual organization allows you to assess your total load and make informed decisions about what to bring.
Step 2: Pack the Essentials (First-Day Items)
Identify items you might need during the day without needing to open your main pack. This includes rain gear, snacks, a first-aid kit, navigation tools, sunscreen, insect repellent, and a headlamp. These items should be placed in easily accessible locations like the top lid, hip belt pockets, or the front shove-it pocket.
Step 3: Loading the Main Compartment (Heavy Items)
Begin loading the main compartment with your heaviest and bulkiest items. Typically, this includes your tent (poles may be packed separately), your sleeping bag (often placed in its stuff sack at the bottom), and your food bag. Position these items close to your back, in the middle-to-lower section of the main compartment. Pack them snugly to prevent any shifting.
Step 4: Filling the Gaps (Medium Weight Items)
Use medium-weight items, such as extra clothing layers, camp kitchen supplies, and other essentials, to fill the spaces around your heavy items. Stuffing clothing into gaps can help cushion hard objects and prevent rattling. Ensure these items are also packed relatively close to your back to maintain balance.
Step 5: Top Compartment and Lid (Lightweight/Frequently Used Items)
Pack lighter items that you might need quick access to in the top compartment or lid. This could include a fleece jacket, hat, gloves, toiletries, or your first-aid kit. Avoid packing overly heavy items in the top lid, as this can make the pack feel unbalanced and top-heavy.
Step 6: External Pockets and Straps (Water, Shelter, Tools)
Utilize side pockets for water bottles, ensuring they are securely fastened and won’t fall out. Tent poles can also often fit here. External straps can be used for items like a sleeping pad if it doesn’t fit inside the pack, or trekking poles when not in use. Be cautious not to overload external straps, as items can snag on branches.
Step 7: Final Adjustments and Compression Straps
Once packed, put the pack on and adjust all the straps. Start with the hip belt, then shoulder straps, load lifters, and finally the sternum strap. Cinch down all compression straps to stabilize the load. Walk around and simulate movement to ensure the pack feels like a natural extension of your body, not something that is pulling you off balance.

Gear Considerations for Modern Backpacking
The trend towards ultralight backpacking continues to influence gear choices in 2026. This approach prioritizes minimizing weight without sacrificing essential functionality. For sleeping systems, quilts like the Enlightened Equipment Enigma 20 are increasingly favored over traditional sleeping bags due to their weight savings. When selecting sleeping pads, the emphasis is on R-value, a measure of thermal resistance, rather than just thickness, to ensure adequate insulation from the cold ground.
When it comes to water filtration, several reliable systems are trusted by backpackers. The Platypus GravityWorks (4L) is a popular choice for group use, while the Sawyer Squeeze, LifeStraw Peak, and Katadyn BeFree are widely used for their effectiveness and portability. For ultralight setups, the Platypus QuickDraw offers a lightweight and efficient filtration solution.
For cooking, the MSR PocketRocket 2 and its Deluxe version remain top choices for their reliability and compact design. Ultralight backpackers often opt for titanium cookware, such as TOAKS titanium pots (750ml), paired with lightweight utensils like the Snow Peak titanium spork.
Shelter options are also evolving, with bivy sacks, ground tarps, and quilts serving as common ultralight alternatives to traditional tents. For those seeking a tent, models like the Gossamer Gear “The One” are popular in ultralight circles, and the NEMO Eclipse pad is also frequently mentioned in 2026 ultralight gear lists.
Navigation, Safety, and Clothing Layers
Effective navigation and safety protocols are non-negotiable aspects of backpacking. Personal locator beacons (PLBs), such as the Garmin inReach Mini 2 or 3 Plus, are highly recommended for emergency communication in areas without cell service. Complementing these electronic devices, carrying a physical map and compass, and knowing how to use them, remains a vital backup. GPS watches can also aid in navigation and tracking your route. Essential safety items include a comprehensive first-aid kit, a reliable headlamp with extra batteries, and bear spray in areas where it’s necessary. Always check for required permits before heading out, and carry reliable fire starters for emergency situations.
Clothing choices should focus on a layering system designed to manage moisture and temperature effectively. Moisture-wicking base layers, typically made from synthetic materials or merino wool, are essential for drawing sweat away from the skin. Insulated mid-layers, such as a down jacket like the Katabatic Tarn, provide warmth. A waterproof and windproof outer shell, like the Patagonia Houdini wind jacket or a dedicated rain jacket, is crucial for protection against the elements. While traditional hiking boots were once standard, many backpackers now opt for trail runners for three-season trips, as they offer lighter weight and better ventilation, though they may provide less ankle support.
Food Storage and Bear Safety
Proper food storage is critical for protecting both your food and wildlife. In many national parks and wilderness areas, bear canisters are mandatory for storing food, toiletries, and anything with a scent. Examples include the Wild Ideas Bearikade Scout. Alternatively, some areas may have designated bear-resistant food lockers, such as those from Adotec. In locations where canisters are not required, hanging a food bag using 50 feet of cord is an option, though it requires specific techniques and suitable trees to be effective. Understanding and adhering to local regulations regarding food storage is paramount for a safe and responsible trip.
Frequently Asked Questions
What is the most important factor when choosing a backpacking pack?
The most important factor is achieving a proper fit, which is primarily determined by your torso length and how the hip belt sits on your iliac crest.
How should I pack heavy items in my backpack?
Heavy items should be placed close to your back and centered, ideally between your shoulder blades, to maintain your center of gravity.
What are the main categories of backpacking pack sizes?
Backpacking packs are typically categorized by capacity: daypacks (20-35L), weekend packs (35-50L), and multi-day/extended trip packs (50-80+L).
Is it better to use a sleeping bag or a quilt for backpacking?
Ultralight backpackers often prefer quilts for their weight savings, but sleeping bags offer more comprehensive coverage and can be warmer for some users.
What are the essential components of a backpacking clothing system?
A layering system is essential, consisting of moisture-wicking base layers, insulating mid-layers, and a waterproof/windproof outer shell.