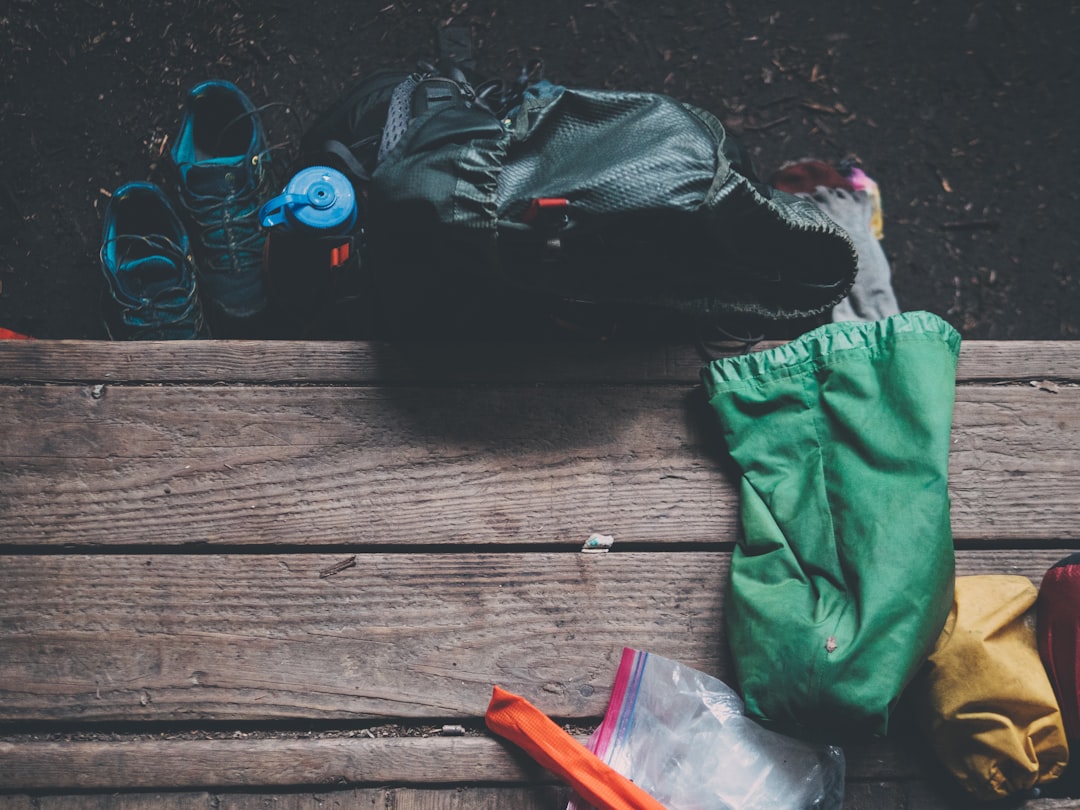
Packing a backpack efficiently is fundamental for any outdoor adventure, impacting comfort, balance, and overall enjoyment. Understanding how to distribute weight and organize your gear can transform a strenuous trek into a more manageable journey. This guide focuses on modern internal-frame backpack packing techniques, emphasizing stability and accessibility.
| Packing Zone | Location | Recommended Items | Reason |
|---|---|---|---|
| Zone 1: Bottom | Base of the main compartment | Sleeping bag, camp shoes, soft clothing | Provides a stable base and accommodates light, bulky items without affecting the center of gravity. |
| Zone 2: Core | Against the back, centered in the main compartment | Tent, food, water, cooking gear, bear canister | Keeps the heaviest items close to your body’s core and harness for optimal balance and stability. |
| Zone 3: Top/Front | Upper and front sections of the main compartment | Extra clothing layers, first-aid kit, water filter | Stores medium-weight and bulkier essentials that need to be accessible. |
| Accessory Pockets | Lid, hip belt, side pockets | Map, compass, snacks, sunscreen, headlamp, small first-aid items | Allows for quick access to frequently needed items without unpacking the main compartment. |
Understanding Backpack Weight Distribution
The principle of packing for internal-frame backpacks has evolved significantly. The outdated notion of placing heavy items at the bottom to lower the center of gravity is now recognized as detrimental to stability. Modern internal-frame packs are designed to keep the load close to your back and centered. This core zone is crucial for maintaining balance, especially on uneven terrain. Placing heavy items here ensures that the pack moves with your body rather than pulling you off-balance.
The recommended maximum pack weight for general hiking and backpacking is typically between 25–33% of your body weight. For international travel or ultralight approaches, this can be reduced to around 15% of body weight. Expedition guidelines, such as those for the Duke of Edinburgh’s Award (DofE) in the UK, also adhere to a maximum of 25% of body weight. Exceeding these limits can lead to fatigue, discomfort, and an increased risk of injury.

The Three-Zone Packing System
Effective backpack packing relies on a systematic approach, often referred to as the three-zone system. This method categorizes gear based on weight and accessibility, ensuring that your pack is balanced and essentials are within reach.
Zone 1: The Bottom Layer
The very bottom of your backpack’s main compartment is best suited for light, bulky items that you won’t need until you reach your campsite. This includes your sleeping bag, a sleeping pad (if it fits inside), and soft camp clothing. These items create a foundational base for the rest of your gear. By placing them here, you prevent them from shifting and creating uncomfortable pressure points while also ensuring they don’t negatively impact your center of gravity.
Zone 2: The Core Zone
This is arguably the most critical zone for stability. Heavy items should be packed directly against your back, roughly at the height of your shoulder blades. This includes your tent, food supplies, water reservoir, cooking equipment, and any bear canisters. Positioning these heavy items close to your body’s core and harness system allows the pack’s suspension to effectively transfer the weight to your hips, promoting better balance and reducing strain on your shoulders and back.
Zone 3: The Top and Front
The upper and front portions of the main compartment are ideal for medium-weight and bulkier items that you might need to access during the day. This can include extra layers of clothing, your first-aid kit, water treatment supplies, and rain gear. Packing these items here ensures they are readily available without needing to unpack your entire bag.

Utilizing External and Accessory Pockets
Beyond the main compartment, various external pockets and attachment points serve specific purposes. Lid pockets, hip belt pockets, and side pockets are designed for items you need quick access to. This includes snacks, a map and compass, sunscreen, a headlamp, lip balm, and small personal items. Keeping these essentials in easily accessible pockets minimizes the need to stop and rummage through your main pack, streamlining your hiking experience.
When attaching gear externally, such as sleeping pads or tents, ensure they are secured tightly. Loose items can shift, creating an unbalanced load and potentially snagging on branches. Many modern backpacks feature compression straps and daisy chains that facilitate secure external attachment.

Gear Organization and Compression
While dry bags are excellent for keeping clothing absolutely waterproof, especially in wet conditions, compression sacks are often preferred for sleeping bags and bulky clothing. Compression sacks significantly reduce the volume of these items, allowing them to fit more snugly into the bottom zone of your pack and saving valuable space.
For items like cooking pots, maximizing space is key. Fill empty pots with smaller items such as your stove, fuel canister, and food. This eliminates dead space and consolidates gear efficiently. When packing fuel, always place it above food items in the pack, and ensure the cap is tightly secured to prevent leaks and potential contamination of food supplies.
Step-by-Step Packing Protocol
A structured approach to packing can prevent last-minute scrambling and ensure a well-balanced load.
- Gear Audit: Before you begin packing, lay out all the gear you intend to bring. Critically assess each item and remove anything non-essential. A common recommendation is to aim to eliminate 20–25% of the items you initially gathered.
- Bottom Layer: Compress your sleeping bag using a stuff sack or compression sack and place it at the very bottom of your main compartment. Follow this with other soft, bulky items like camp clothes or shoes.
- Core Weight: Pack your heaviest items next, positioning them against your back and centered within the pack. This includes your tent, food, water reservoir, and cooking gear. Fill any empty spaces within pots or containers with smaller items.
- Balance and Compression: Distribute weight evenly between the left and right sides of the pack. Once loaded, tighten all compression straps on the backpack. This cinches the load closer to your body, preventing shifting and improving stability.
- Top and Front Loading: Fill the remaining space in the main compartment with medium-weight items and those you might need during the day, such as extra layers or rain gear.
- Accessory Pockets: Load your lid, hip belt, and side pockets with items requiring frequent or immediate access.
Common Packing Mistakes to Avoid
Several common errors can detract from a comfortable hiking experience. Overpacking is a frequent issue; bringing too much gear not only adds unnecessary weight but can also make it difficult to organize your pack effectively. Always question the necessity of each item before it goes in.
Another mistake is neglecting to balance the load. An unbalanced pack can lead to uneven stress on your body, causing discomfort and potentially leading to injuries. Ensure that the weight is distributed evenly from side to side and that heavier items are kept close to your back.
For those using older or specialized external frame packs, it’s crucial to lash items tightly. External frames are less common for general hiking in 2026, with internal frames dominating the market due to their superior load-carrying stability. If an external frame is used, items must be secured to prevent swaying, which can significantly disrupt balance.
Wearing Your Pack Correctly
Even the best-packed backpack won’t feel right if it’s not worn correctly. The process involves a specific sequence to ensure the weight is properly transferred to your hips:
- Loosen all the straps on the backpack.
- Place the backpack on and fasten the hip belt, ensuring it rests comfortably on your iliac crest (the top of your hip bones). Tighten it snugly.
- Pull the shoulder straps down and tighten them until they are snug but not overly tight.
- Adjust the load lifters (straps connecting the top of the shoulder straps to the top of the pack frame) to a 45-degree angle. This pulls the pack closer to your upper back.
- Finally, fasten the sternum strap, adjusting it to a comfortable position across your chest. It should be snug enough to keep the shoulder straps from slipping but not so tight as to restrict breathing.
Properly adjusted straps ensure that the majority of the pack’s weight is carried by your hips, not your shoulders, which is essential for comfort on longer hikes.
Frequently Asked Questions
What is the best way to pack a sleeping bag?
Compress your sleeping bag using a stuff sack or compression sack and place it at the very bottom of your backpack’s main compartment. This utilizes the space effectively and provides a soft base for other gear.
Should heavy items be at the bottom of my backpack?
No, for modern internal-frame backpacks, heavy items should be placed against your back and centered in the core zone of the pack, not at the bottom. This maintains a stable center of gravity.
How much should my backpack weigh?
For general hiking and backpacking, your pack should ideally weigh between 25–33% of your body weight. For lighter travel, aim for around 15%.
Are packing cubes good for hiking?
While useful for travel, packing cubes are generally less recommended for wilderness hiking compared to compression sacks. Compression sacks are more effective at reducing the volume of bulky items like sleeping bags and clothing for backpacking.
How do I ensure my gear stays dry?
Use waterproof stuff sacks or dry bags for essential items like your sleeping bag and extra clothing, especially if rain is expected. Ensure your pack cover is also in good condition.